Mideye+ App Touch Accept Setup for Server 4
Overview
Section titled “Overview”Want to enable push notification MFA for your users? This guide explains how to install and configure the Mideye+ mobile app for iOS and Android devices. Users can receive OTP codes via push notification, use Touch Accept for one-tap authentication approval, or generate offline OTP codes when no network is available.
| Feature | Requires Network | User Action |
|---|---|---|
| Push OTP | Yes (data) | Enter code |
| Touch Accept | Yes (data) | Tap Accept/Deny |
| Offline OTP | No | Manual challenge signing |
Introduction
Section titled “Introduction”The Mideye+ app provides an alternative to SMS-based OTP delivery. It works over data networks (Wi-Fi or mobile data) instead of SMS, making it ideal for users who travel internationally or have poor cellular coverage. There is no additional charge for using Mideye+.
Installation and activating Mideye+ app
Section titled “Installation and activating Mideye+ app”The following section will describe how to download and activate the Mideye+ app.
Downloading the Mideye+ app
Section titled “Downloading the Mideye+ app”Mideye+ can be downloaded for both Android and iPhone users. For iPhone users, download the app here or by searching for Mideye+ directly in the App Store. iOS 9.0 or later is required.
Android users can download the Mideye+ app here or search for it directly in Google Play.
Activating the Mideye+ app using iPhone
Section titled “Activating the Mideye+ app using iPhone”Once downloaded and installed, open the Mideye+ app. First time opening the Mideye+ app, the message “Mideye+ Would Like to Send You Notification” pops up. Click “Allow” to allow the app to send notifications each time an authentication attempt is made.
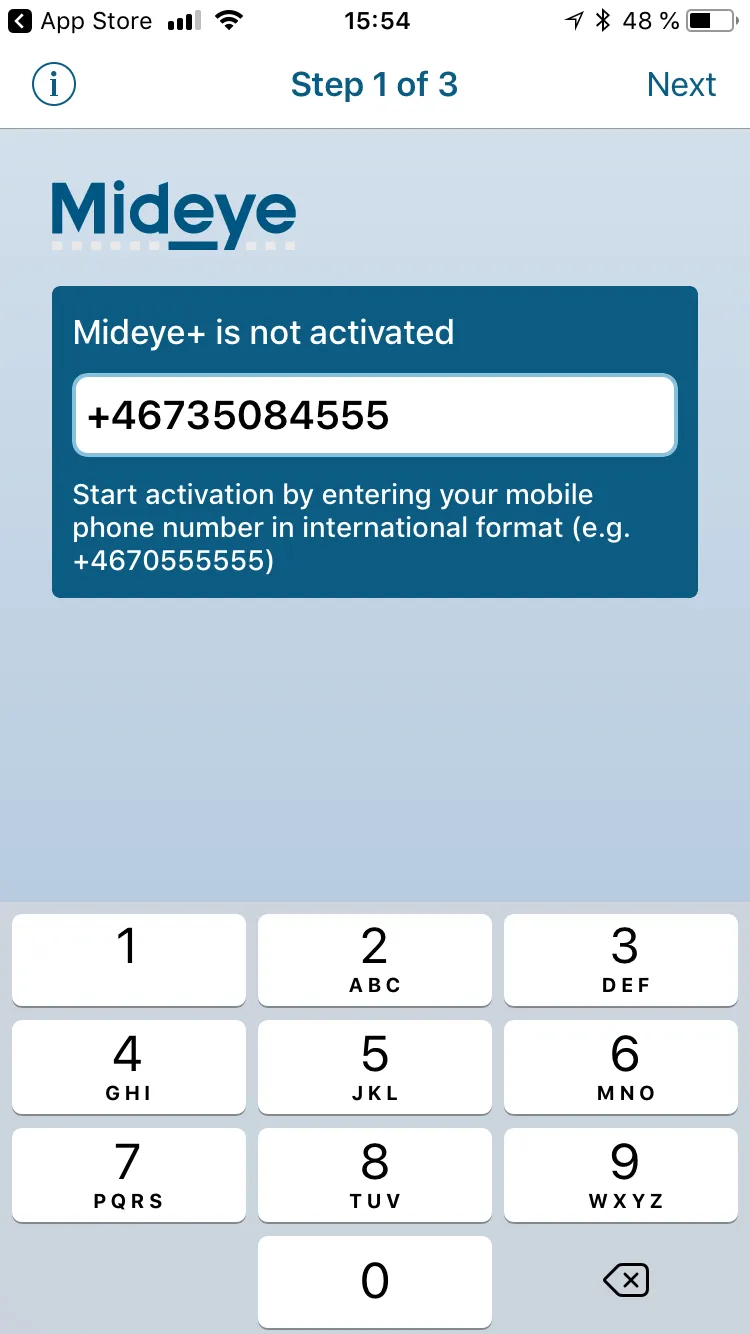
The activation consists of 3 steps:
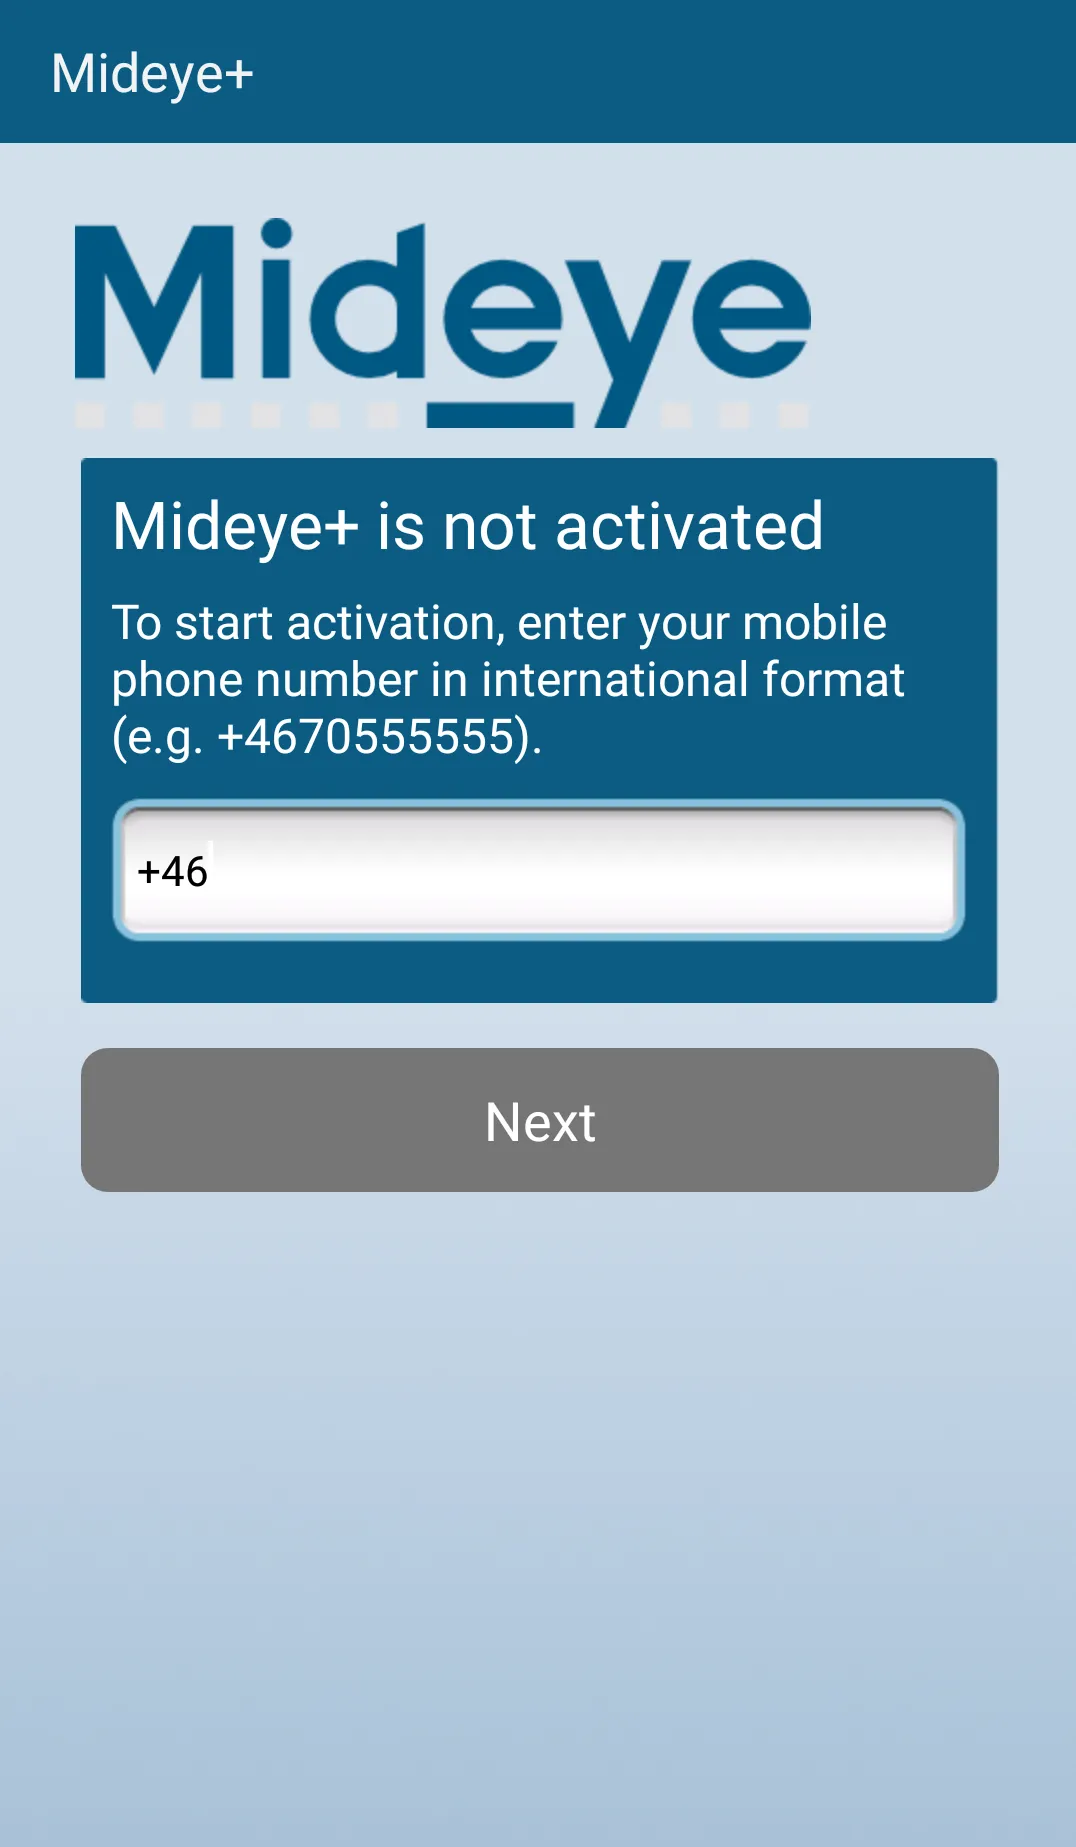
- Enter the phone number in international format e.g +46735084555 and press “Next” in the top right corner.
Enter the phone number in international format.
- Make an authentication attempt to the corporate resource (e.g Anyconnect, Citrix-portal etc) that is protected with Mideye.
Logon to a resource protected by Mideye.
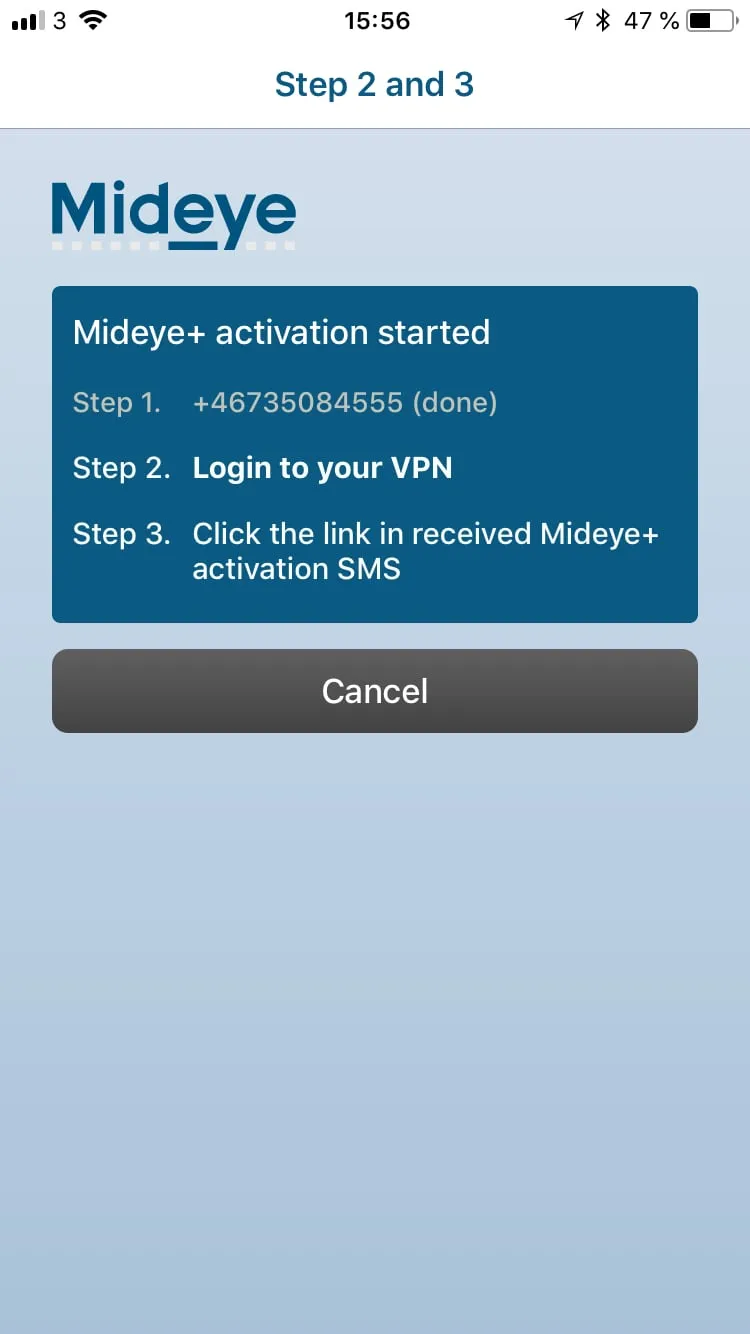
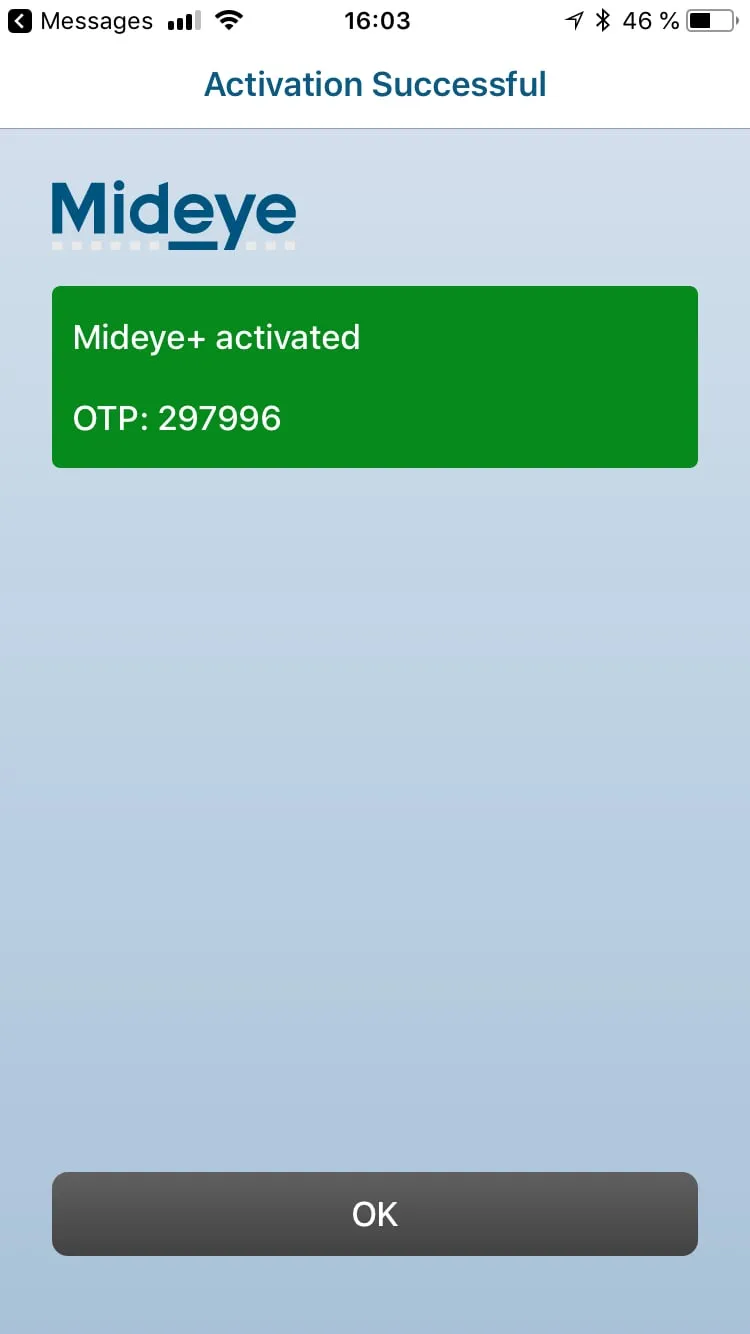
- Once the SMS is received, open the message and click the link. A redirect to the Mideye+ app will take place with the text “Mideye+ activated”.
Click the link in the SMS
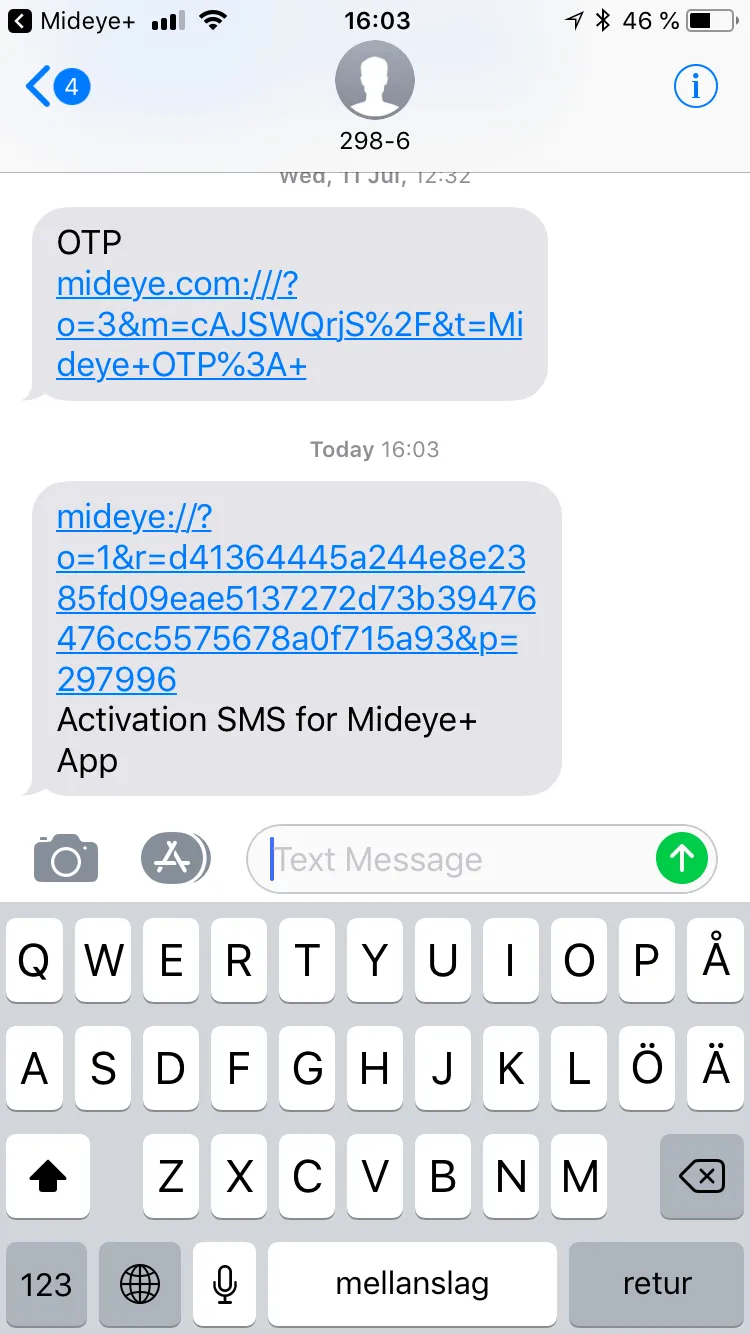
Mideye+ is now activated
Activating the Mideye+ app using Android
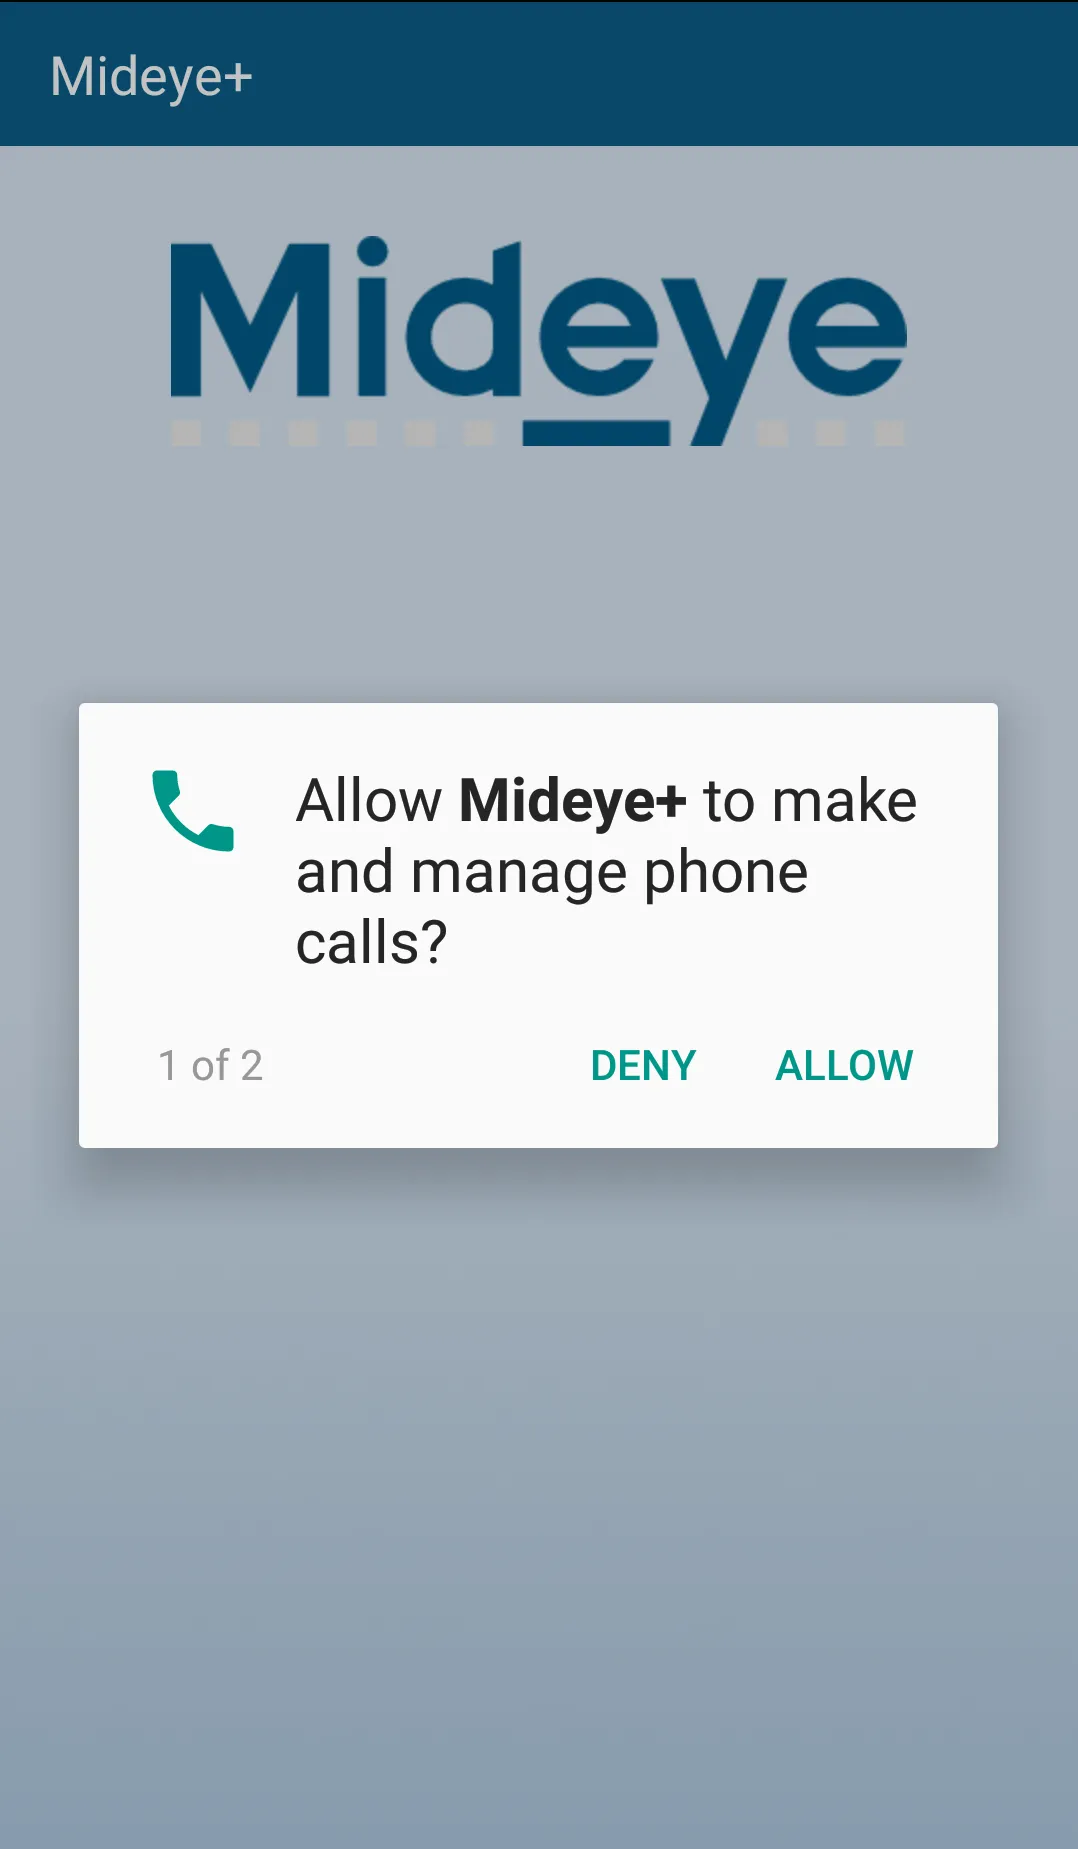
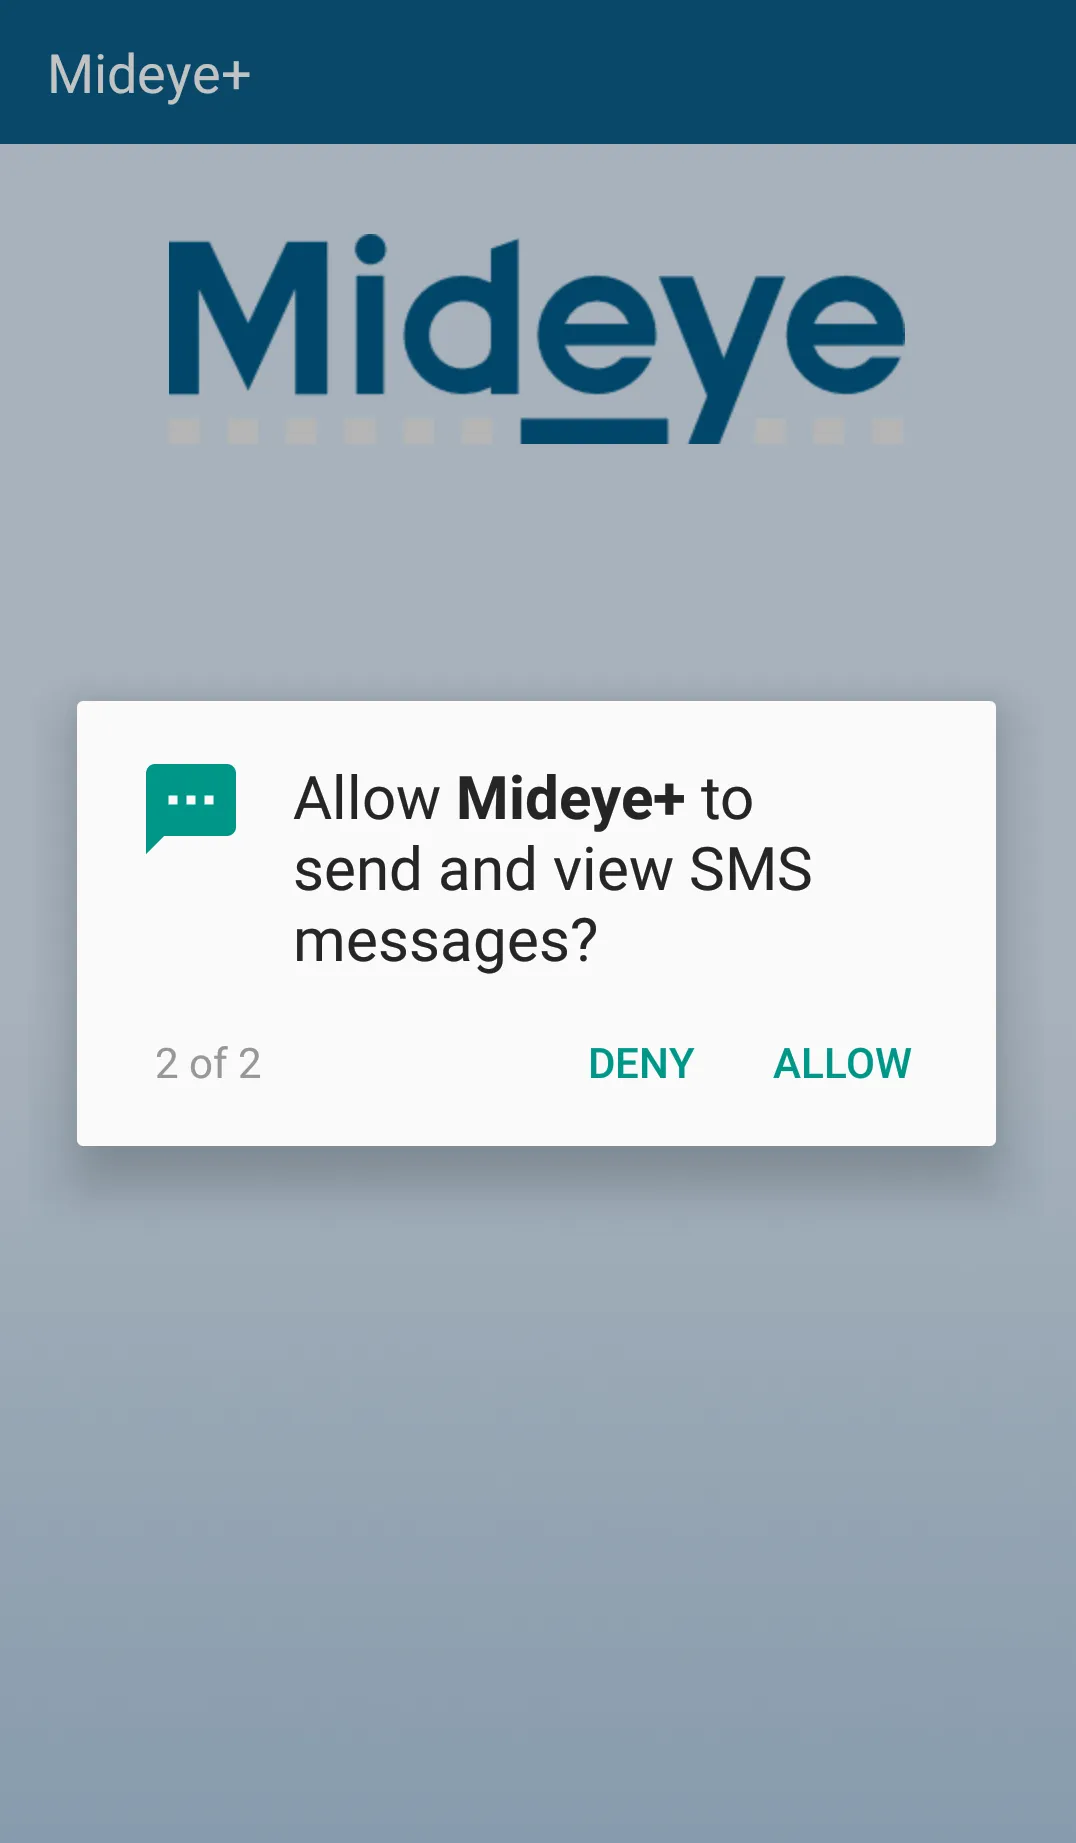
Section titled “Activating the Mideye+ app using Android”Once downloaded and installed, open the Mideye+ app. First time opening the Mideye+, the app will ask for permissions. Make sure to click “Allow” to allow the app to send notifications each time an authentication attempt is made.
Allow Mideye+ to make and manage phone calls
Allow Mideye+ to send and view SMS messages
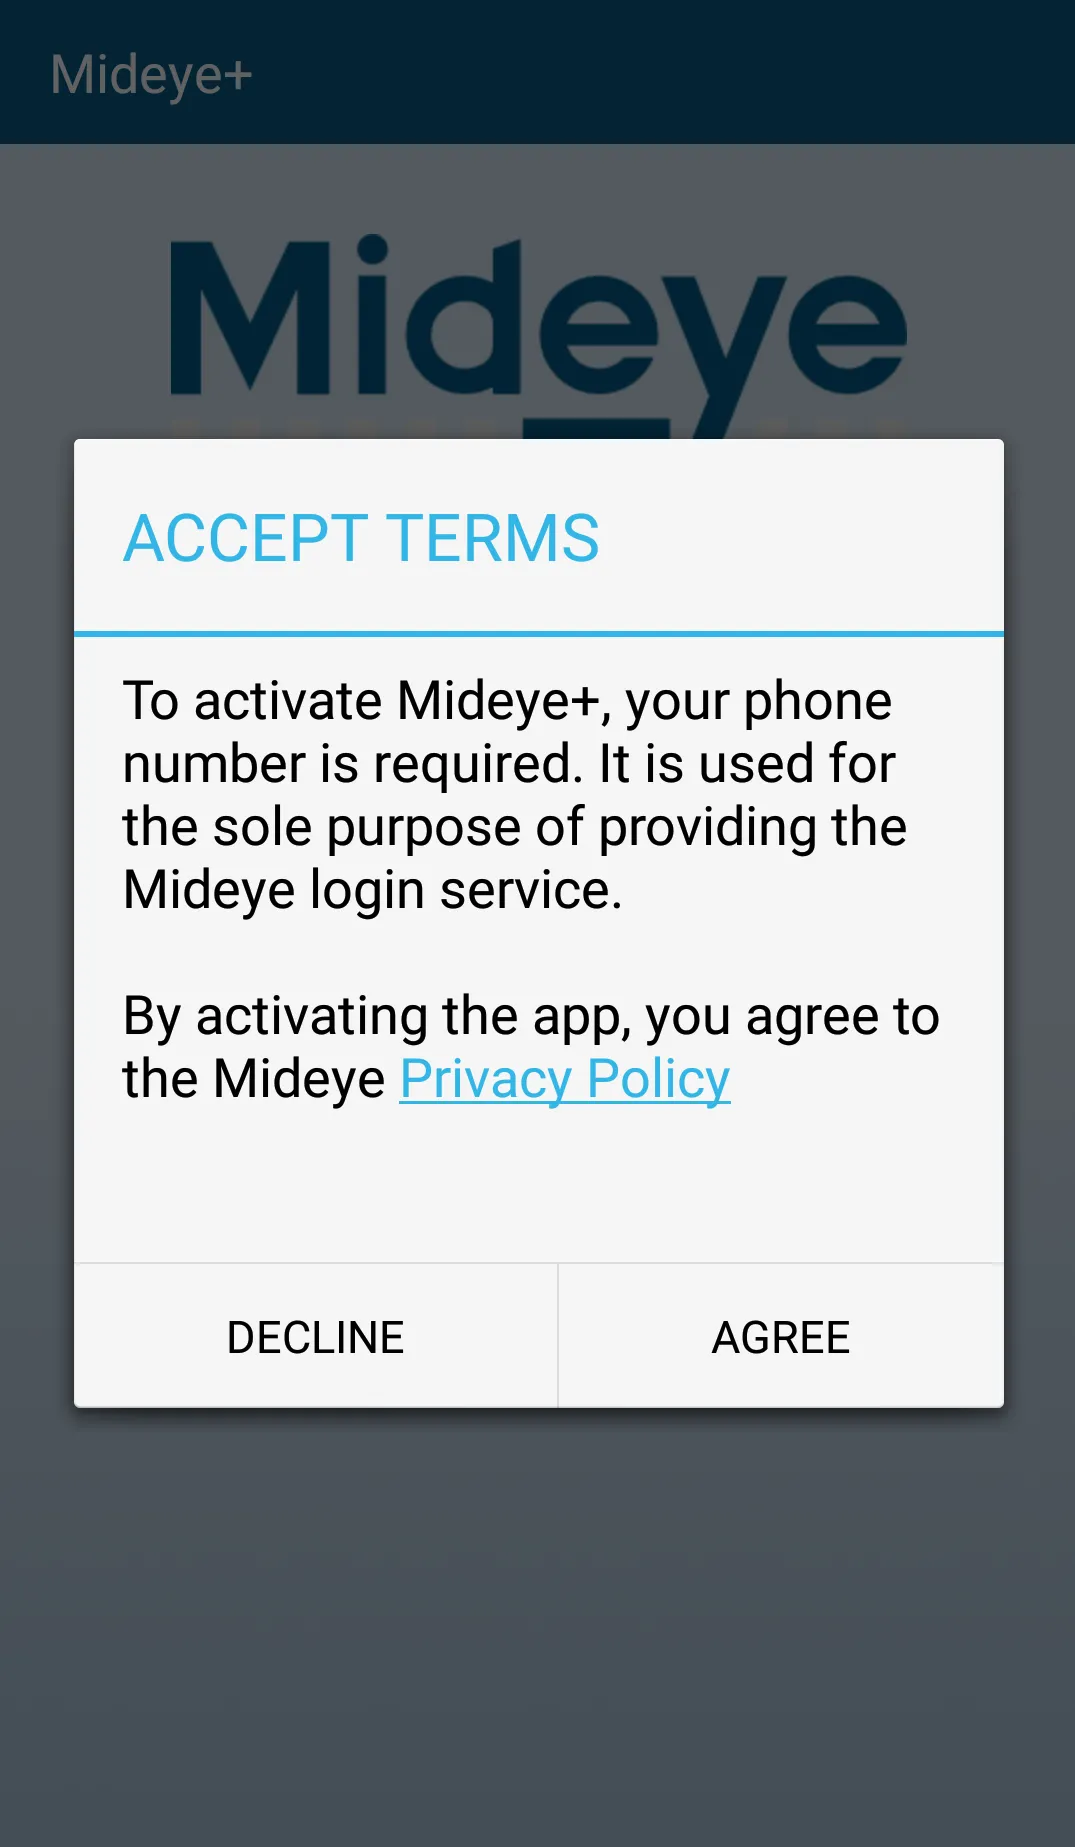
Agree to terms
The activation consists of 2 steps:
- Enter the phone number in international format e.g +46701234567 and press “Next”.
Enter phone number in international format
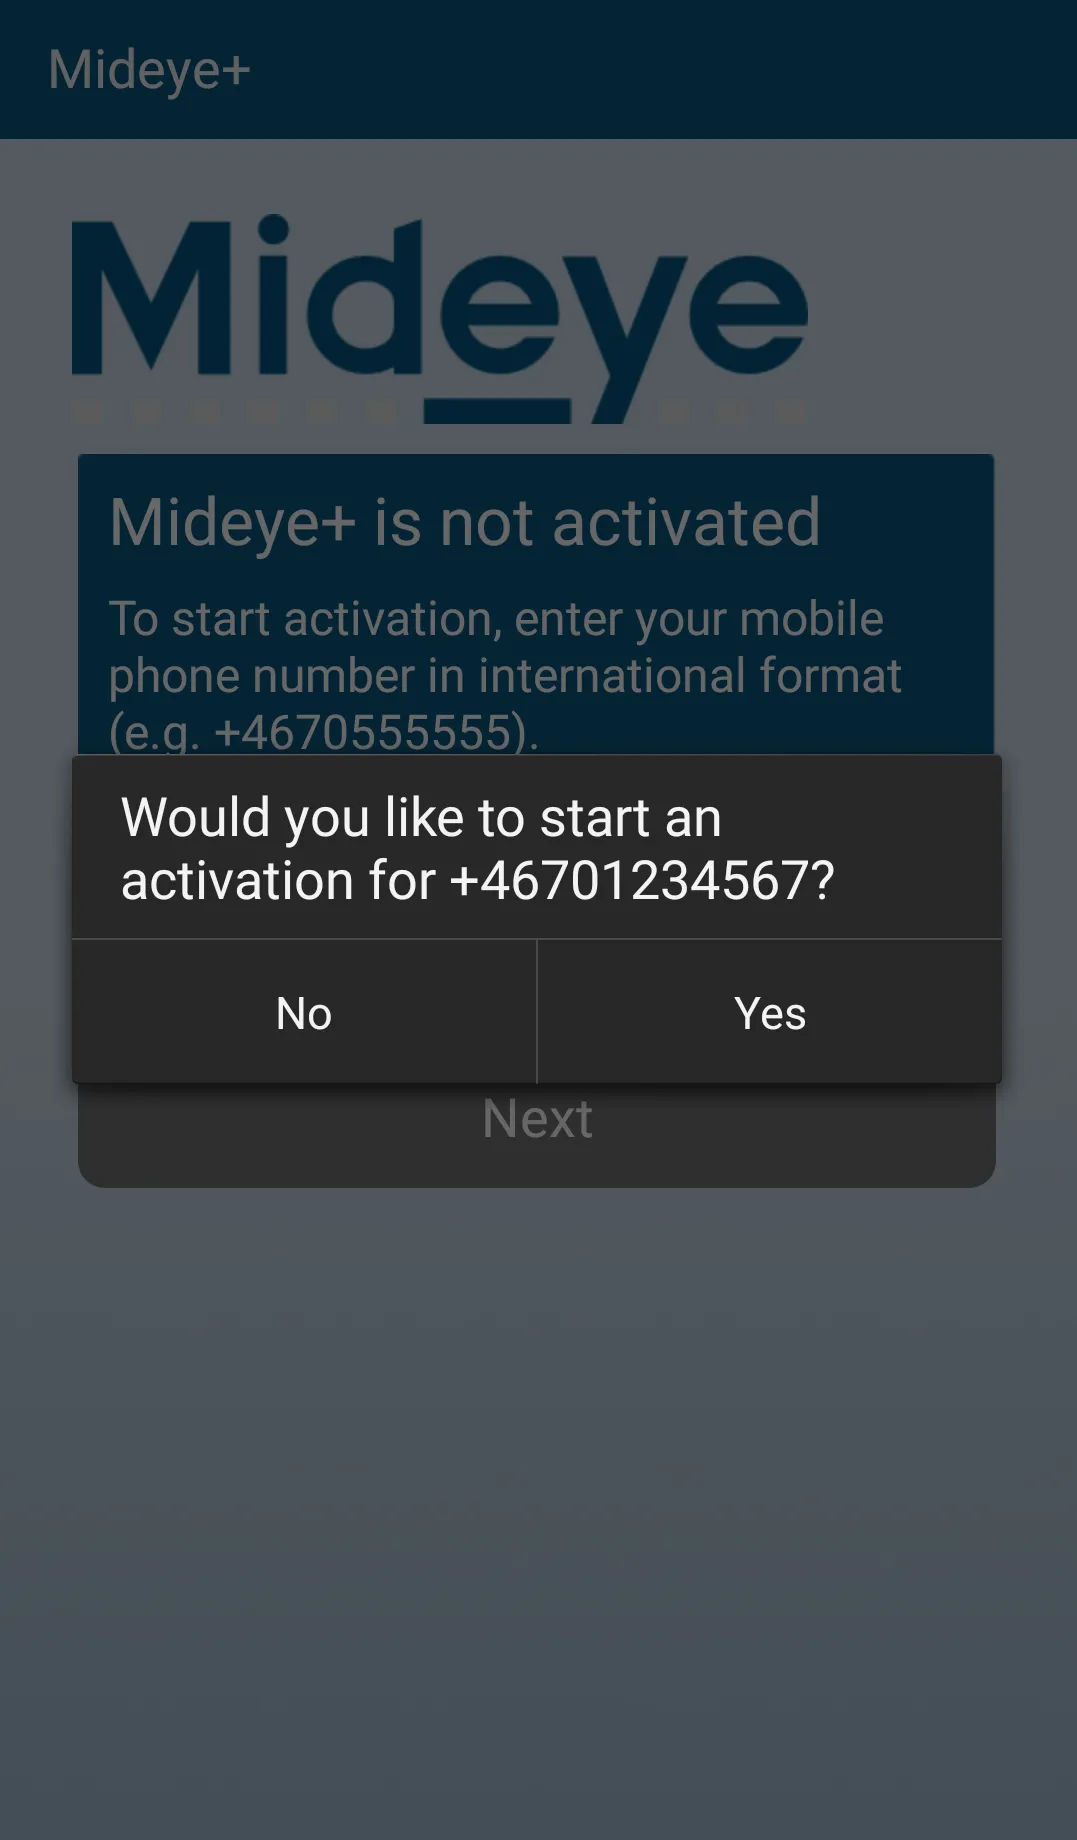
Start the activation of the app
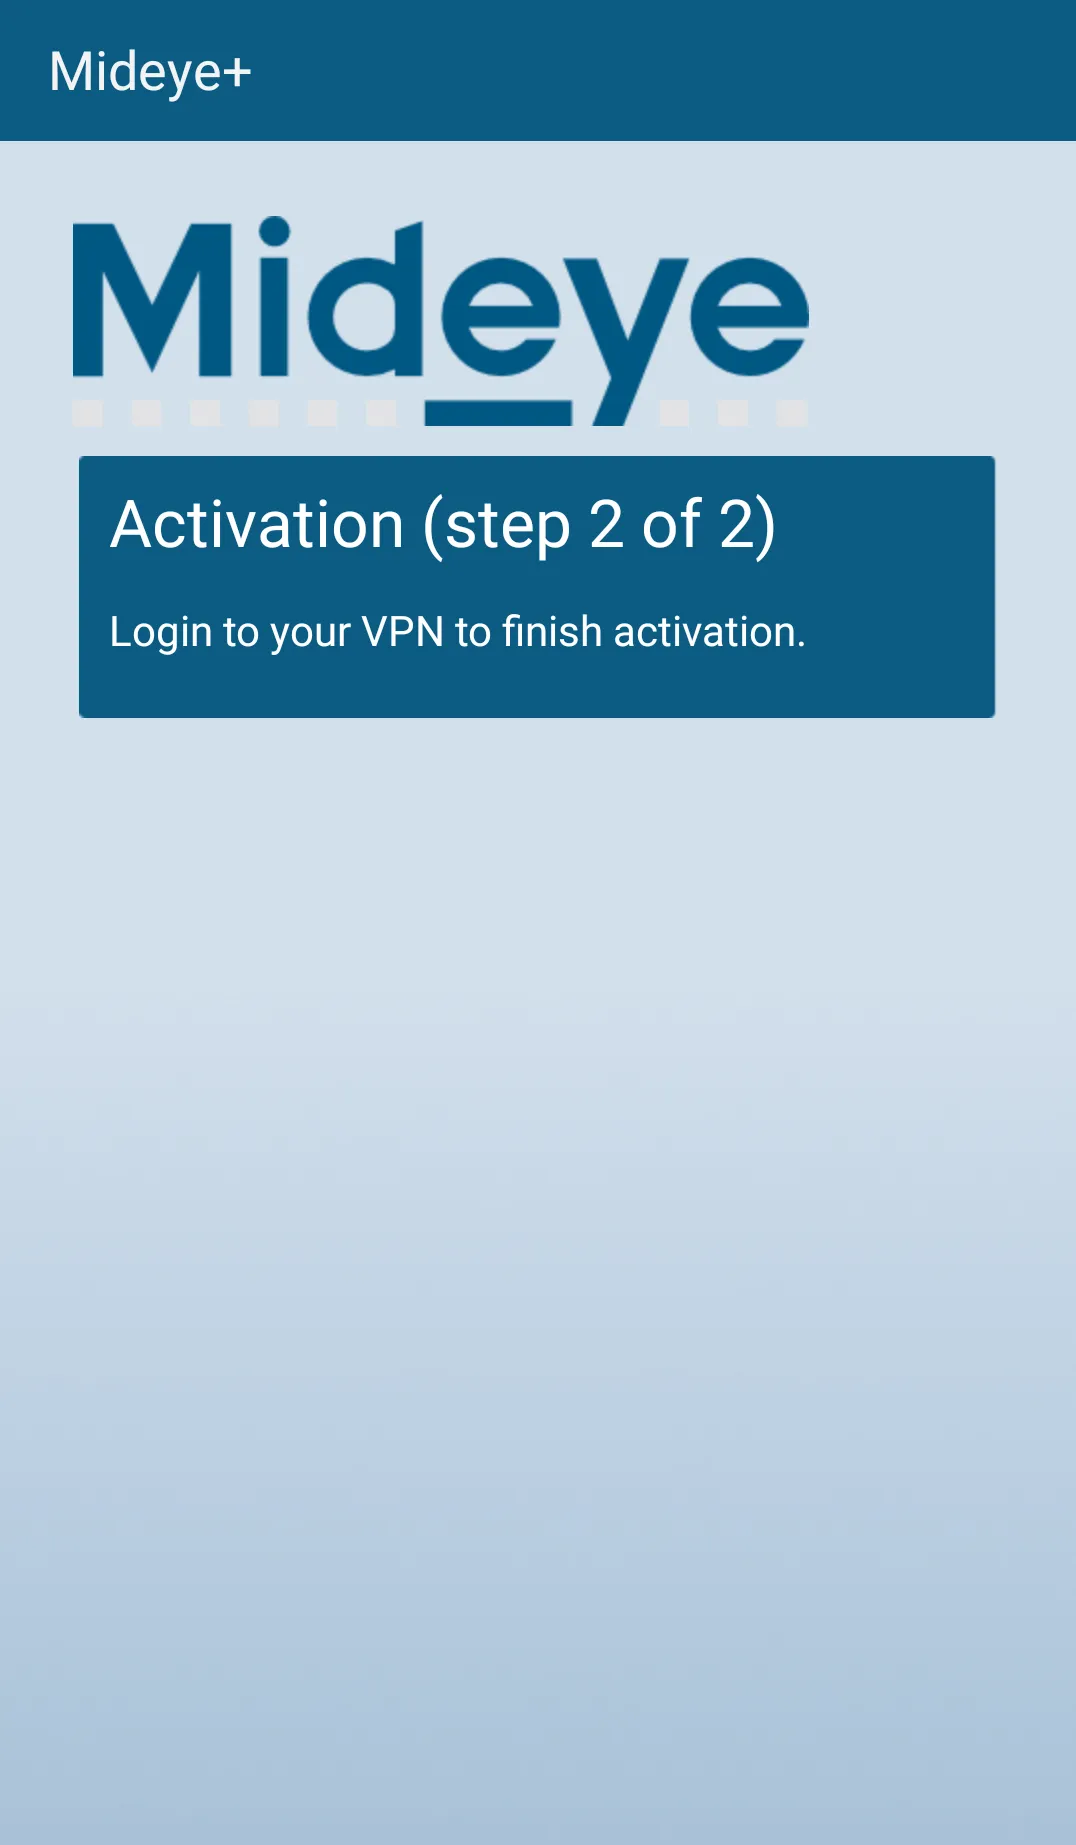
- Make an authentication attempt to the corporate resource (e.g Anyconnect, Citrix-portal etc) that is protected with Mideye.
Logon to a resource protected by Mideye.
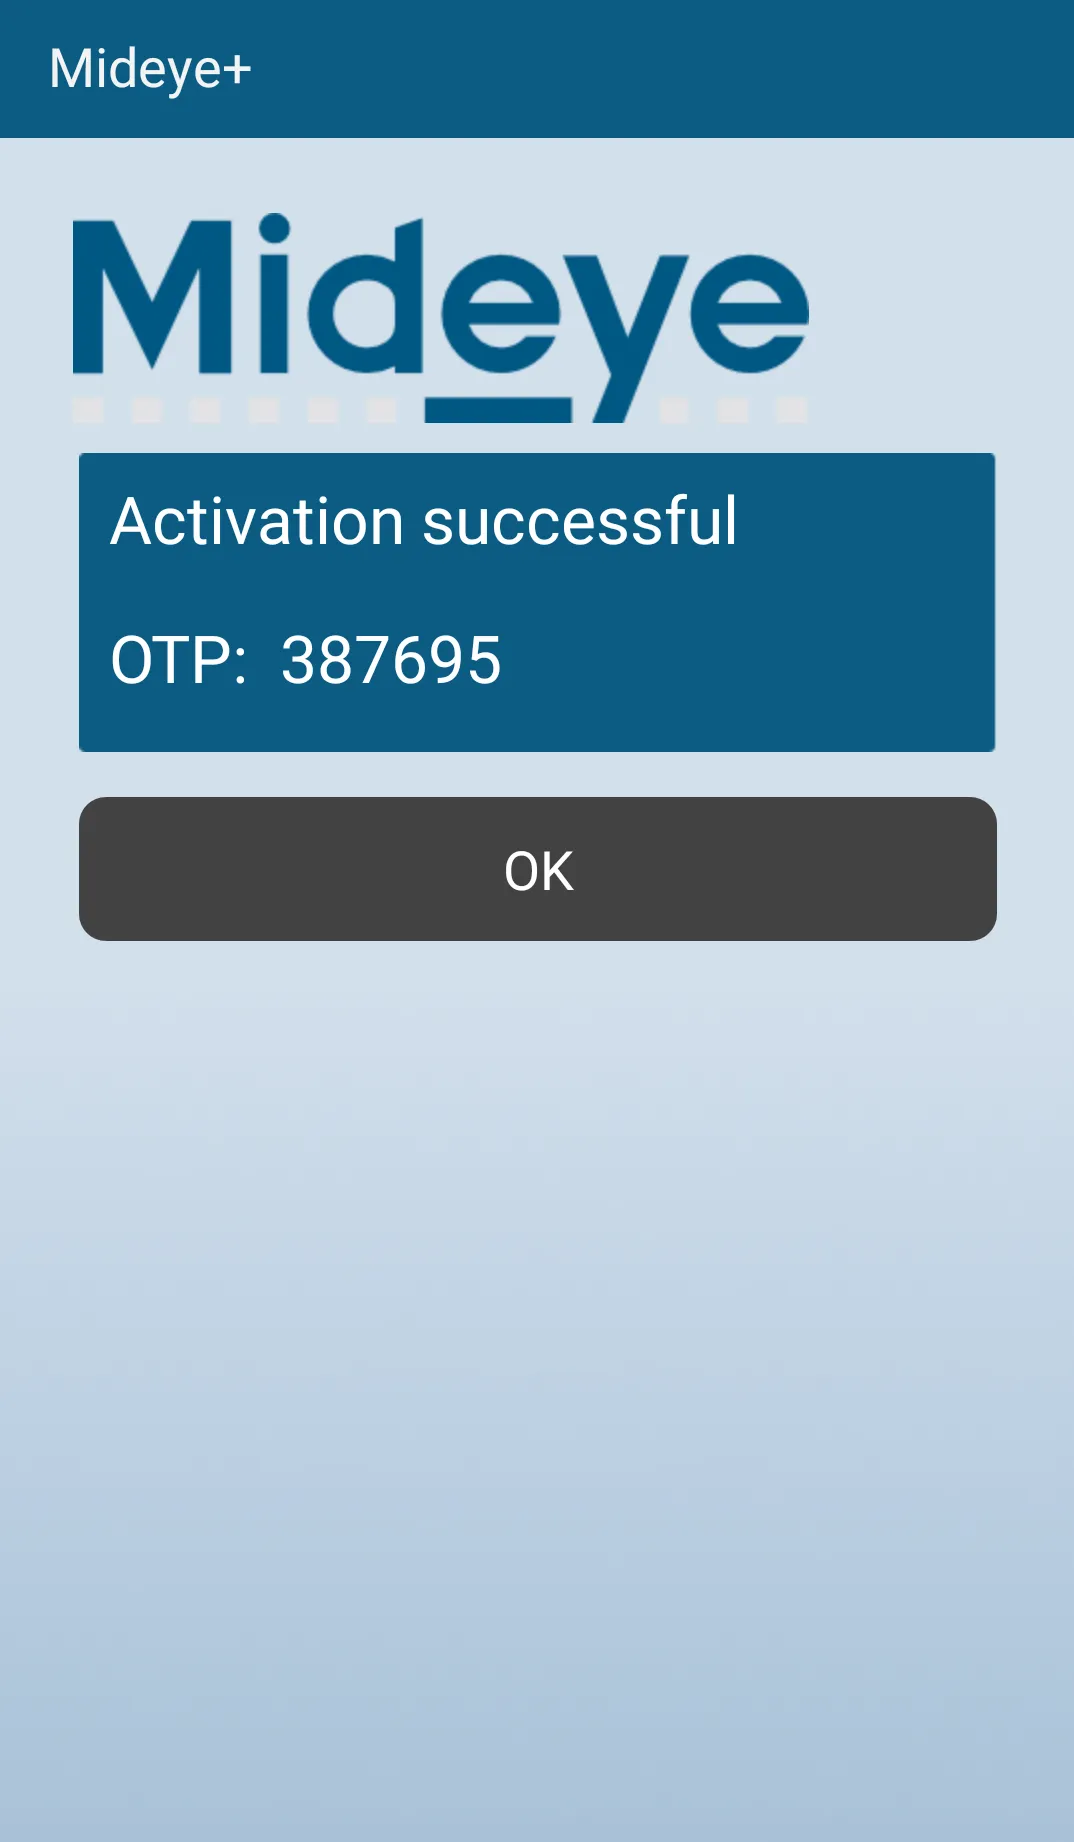
- Once the text message is received the activation of Mideye+ will automatically finish.
Mideye+ is now activated
Using Mideye+
Section titled “Using Mideye+”When Mideye+ is activated, the app can be used to authenticate when logging on to a protected resource that is using Mideye two-factor authentication. Instead of receiving traditional text-messages containing an OTP, Mideye will send the OTP using data traffic and the OTP will be presented in the phone as a notification.
Mideye+ OTP notification
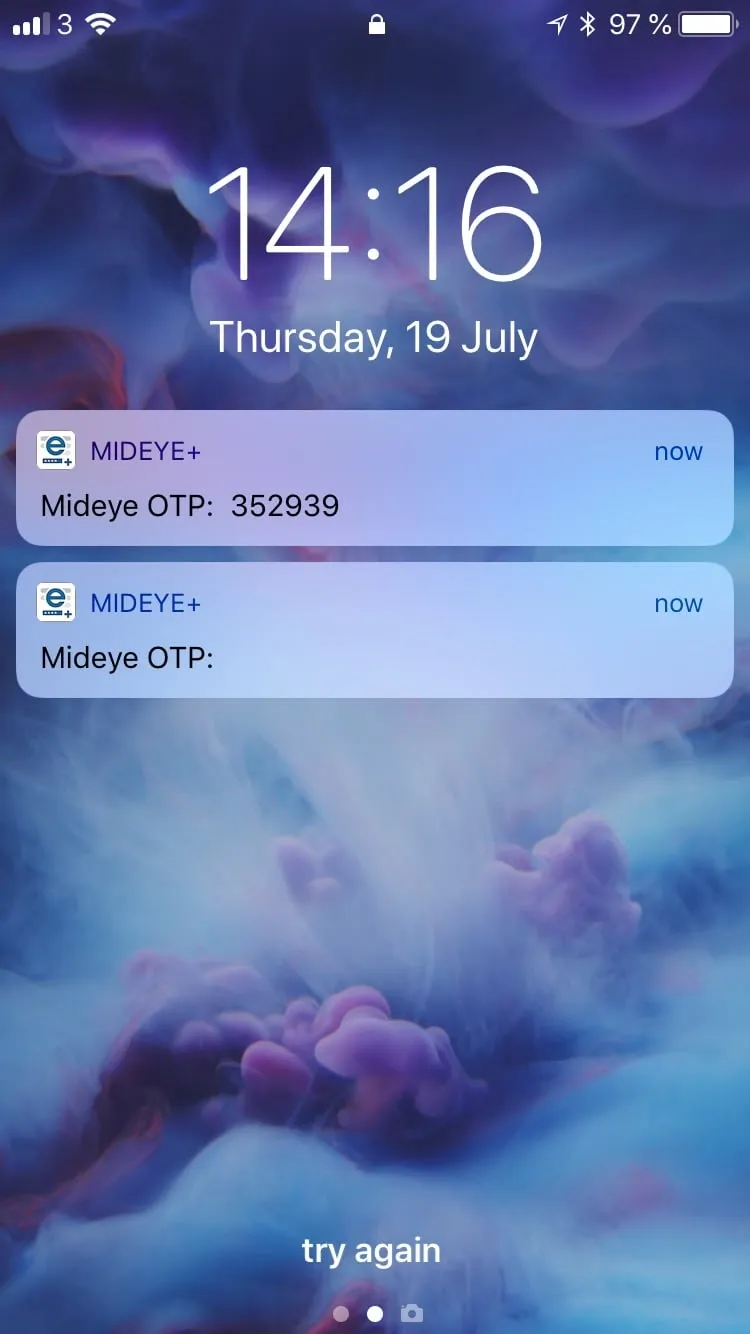
Sending data OTP instead of traditional text messages have a big advantage when end-users do not have any network coverage, but still have internet access.
Offline manual challenge
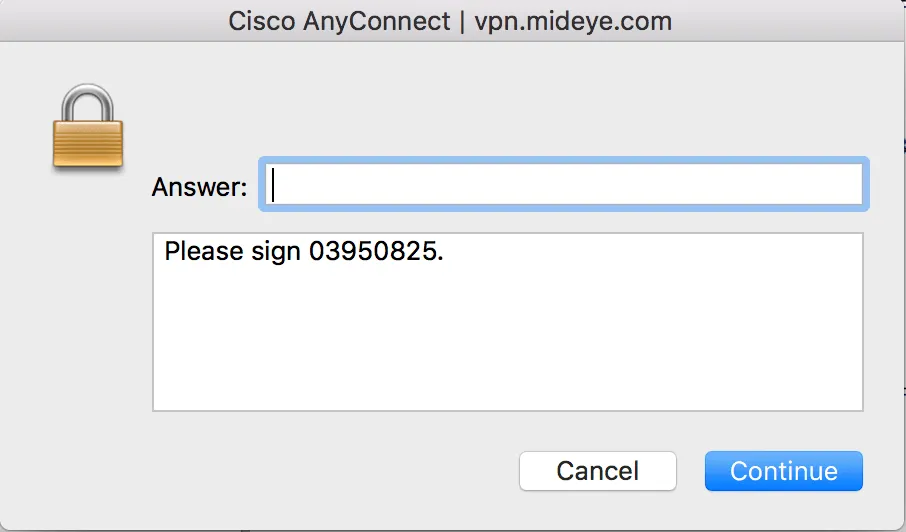
Section titled “Offline manual challenge”Mideye+ also works as a token card and can be used when both network coverage and internet access is missing. When end users try to authenticate, and the phone does not have any coverage, Mideye will instead present the user with the message “Phone not reachable, please sign xxxxxx”.
The message presented to the end-user when logging on lacking coverage. In this example, Cisco Anyconnect.
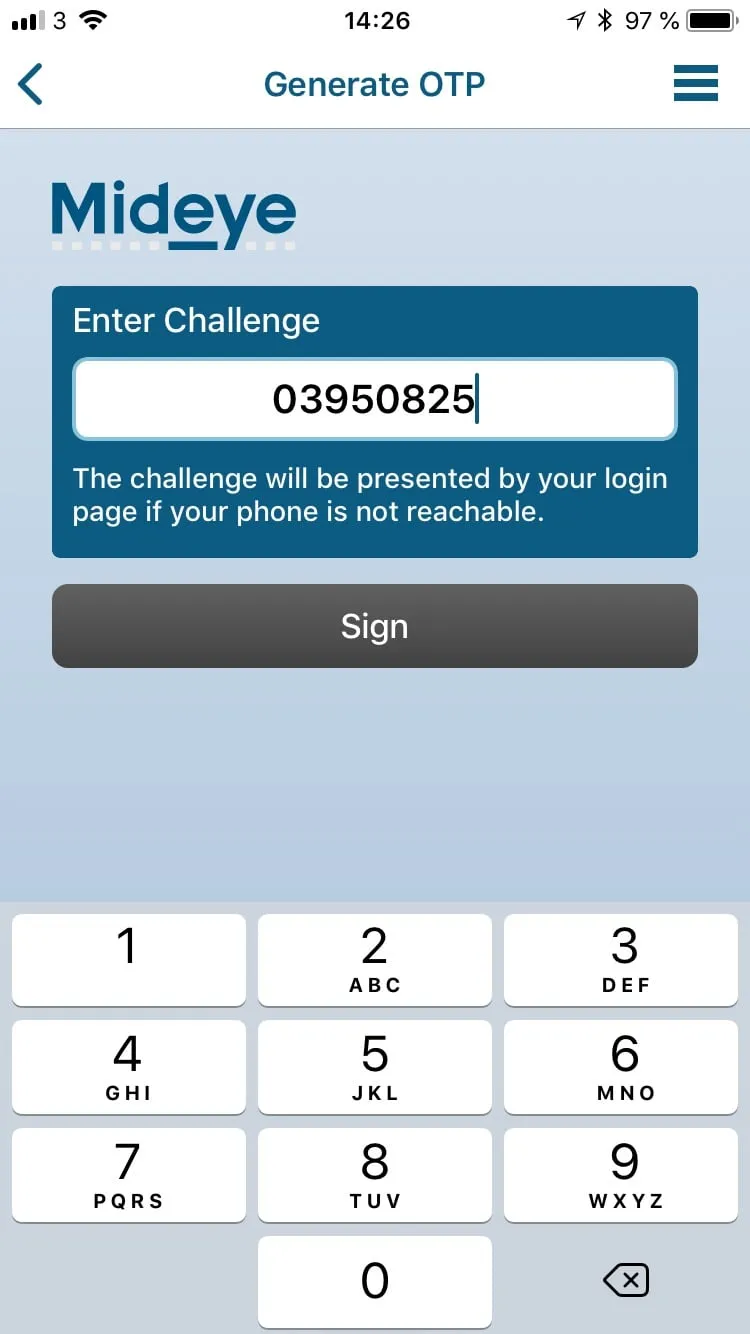
To sign, open the Mideye+ app and click “Manual signature at the bottom of the screen”
Enter the challenge and click sign.
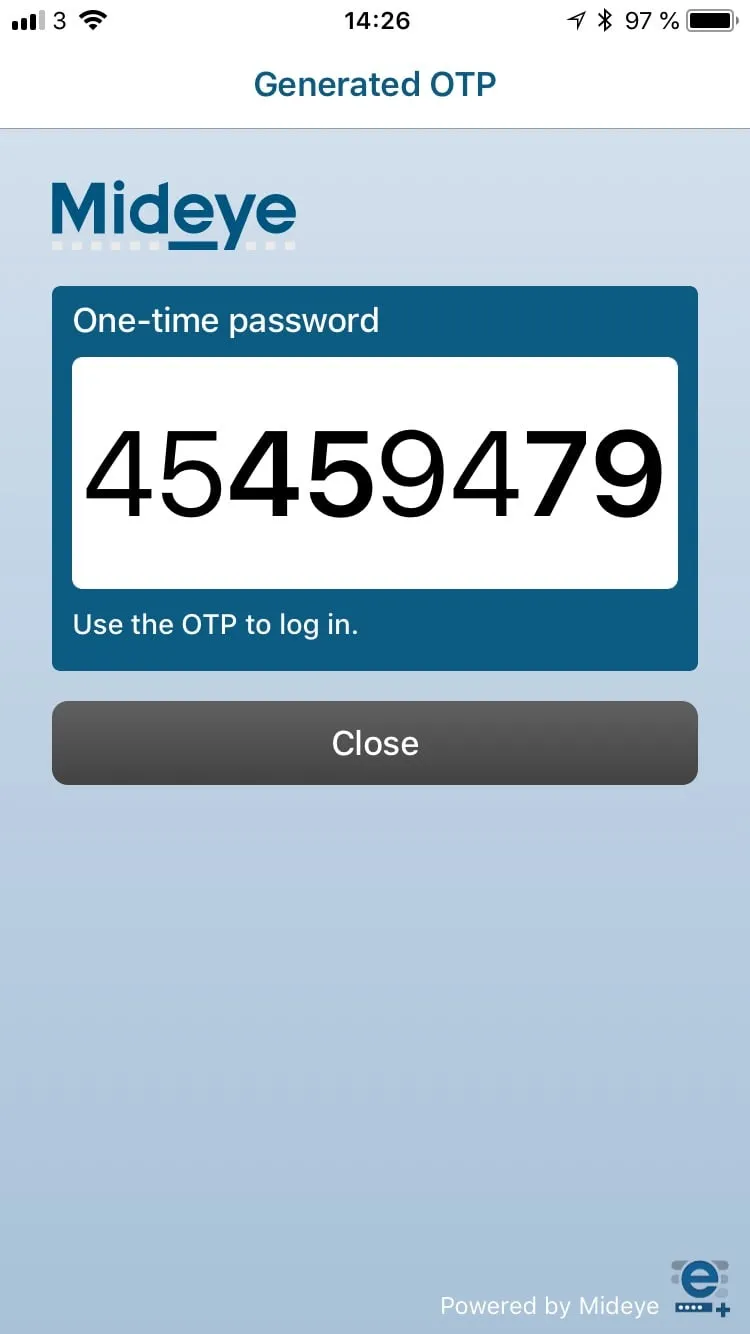
Enter the OTP generated in the Mideye+ app at the login site.
Enter the OTP presented in the Mideye+
Troubleshooting Mideye+
Section titled “Troubleshooting Mideye+”Offline signing of challenge
Section titled “Offline signing of challenge”If manual signing does not work, but instead the end-user is presented with a failed authentication, it is likely because the RADIUS timeout of the RADIUS client is set to less than 35 seconds. Refer to the section “Troubleshooting RADIUS client” in the Configuration guide.
User is not receiving any notifications when using Mideye+
Section titled “User is not receiving any notifications when using Mideye+”For Mideye+ to function correctly it is important that the end-user accepts that Mideye+ can present notifications. This question is presented to the end-user only once after installing the app. If the user accidentally pressed “Deny” instead of “Allow”, no notifications with OTP will be shown during authentication. To manually fix this follow the instructions below:
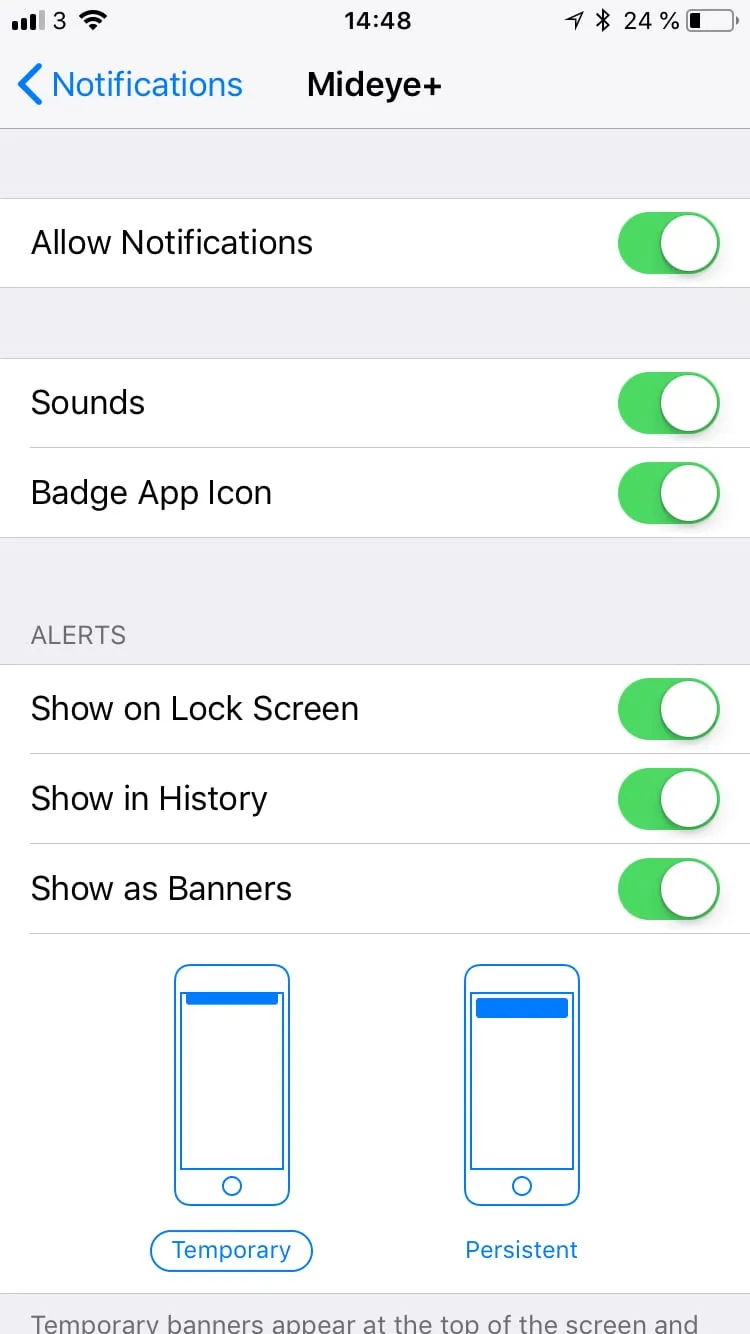
Iphone users
Section titled “Iphone users”- Tap the “Settings” icon.
- Scroll down and tap “Notifications”
- Tap Mideye+ in the “Notification style”
- Enable “Allow Notifications”
Enable notifications
Android users
Section titled “Android users”Enabling notifications vary depending on what version of Android is being used. Refer to each manufacturer’s manual for details.
Android is not presenting any notifications while the phone is in battery saving mode
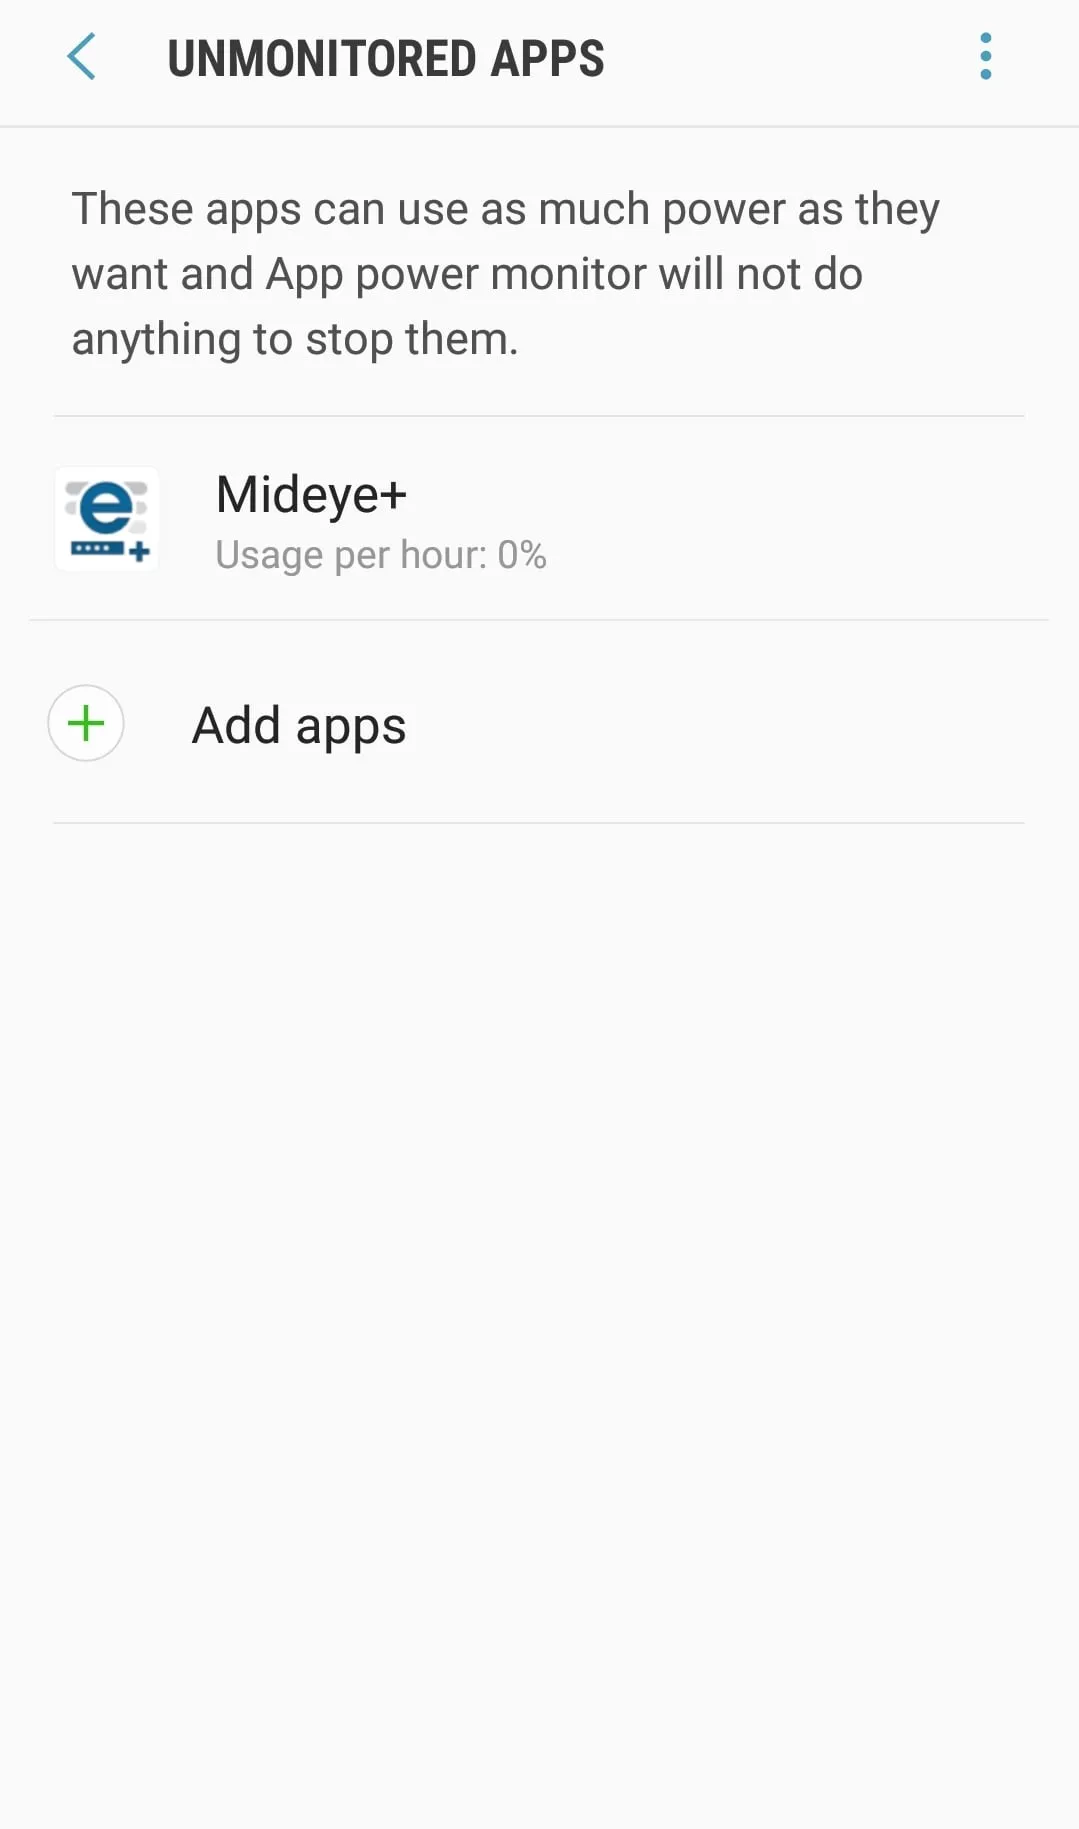
Section titled “Android is not presenting any notifications while the phone is in battery saving mode”If the phone is low on battery and the end-user enables battery saving mode, Mideye+ must be excluded to still be able to present notifications when authenticating. The example below shows how to achieve this using a Samsung phone. For other phones, refer to the manual from the manufacturer.
- Open “Settings”
- Open “Battery” and navigate to “Unmonitored Apps”
- Click “Add apps” and select Mideye+ followed by “Done”
Add Mideye+ to unmonitored apps
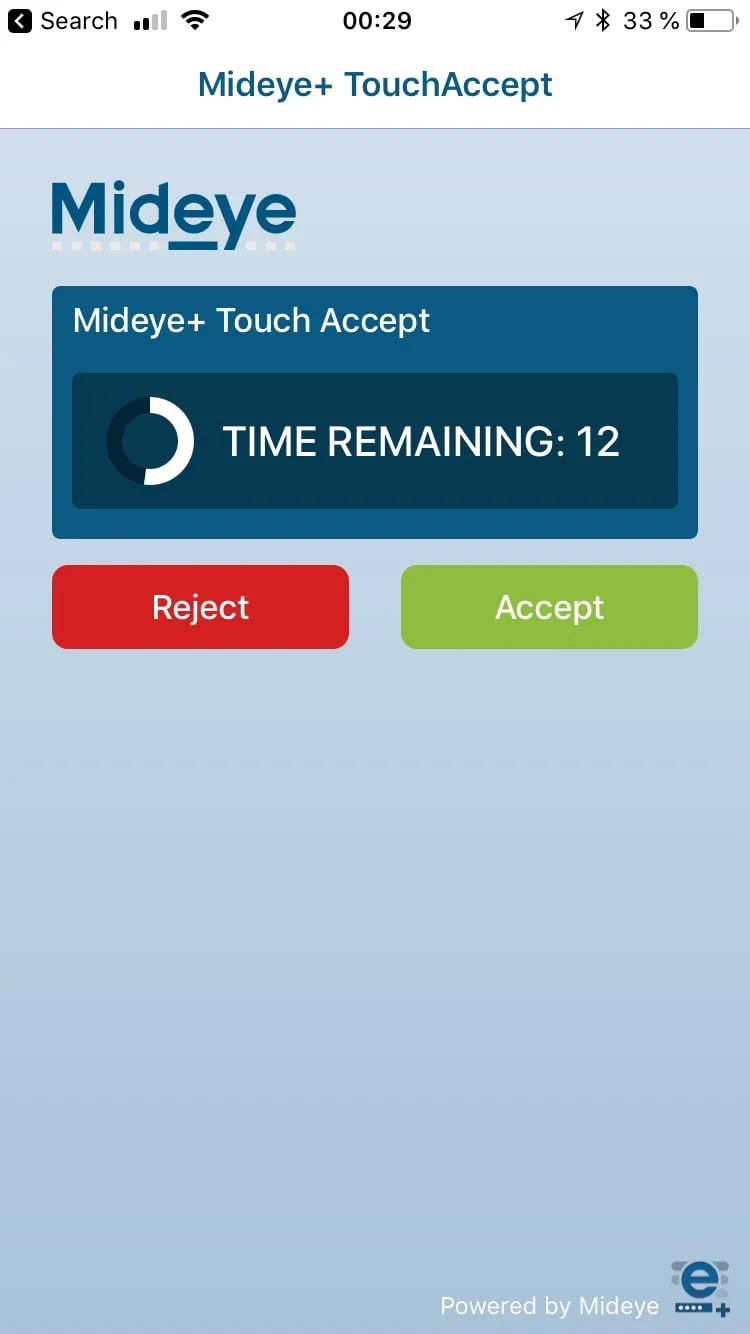
Touch Accept
Section titled “Touch Accept”To further ease the authentication process, Touch Accept can be used to simply allow or deny an authentication attempt. This function can be enabled from the Mideye configuration tool and does only affect those users that have Mideye+ installed on their cellphones. Also, Touch Accept does not use challenge-response when authenticating, which enables two-factor authentication on applications and services that do not have support for traditional two-factor authentication.
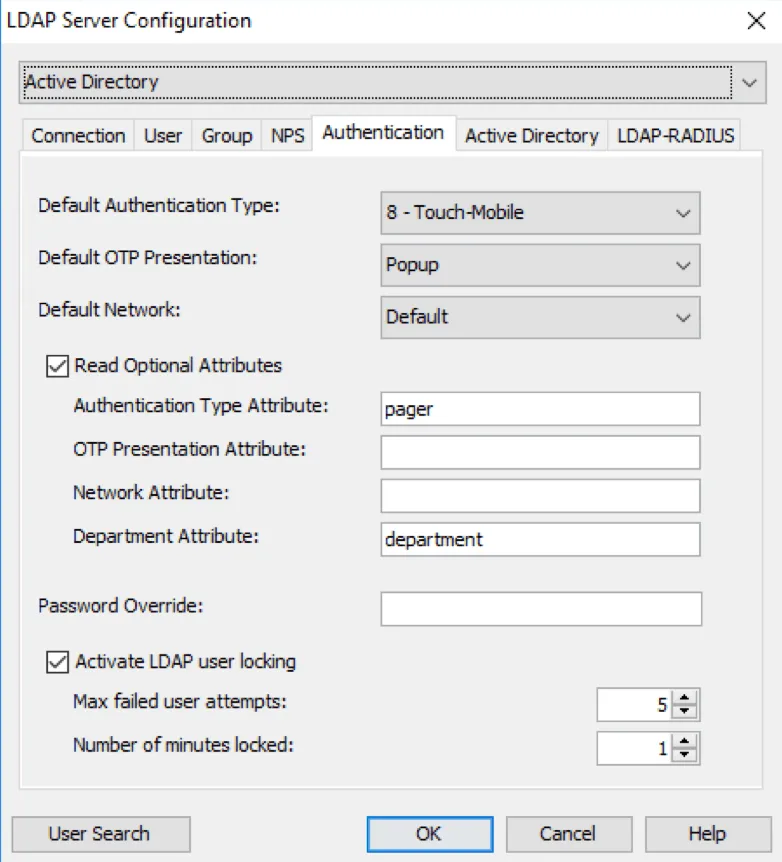
Enabling Touch Accept
Section titled “Enabling Touch Accept”Open the Mideye configuration tool and navigate to “LDAP Servers”. Select the LDAP-server that is being used, and click modify. Select the tab “Authentication” and change the “Default authentication type” to 6, 7 or 8 depending if there should be a fallback available to traditional OTP. Fallbacks are only efficient if the authentication service supports challenge-response. In those cases, if for any reason Touch accept would fail, a normal OTP will be sent to the phone. If the authentication service does not have any support for challenge-response, authentication type 6 will be the only option.
Change the authentication type to 6, 7 or 8 to enable Touch Accept.
Click “Save” followed by “Close” to restart the services.
To verify if the configuration is working, simply perform an authentication attempt to any Mideye enabled service. Now, instead of receiving an OTP to the Mideye+ app, a question to allow or deny the login will be presented. Since authentication type 8 (Touch-mobile) was selected in the previous step, an OTP will be sent if Touch should fail.
Login using Touch Accept.